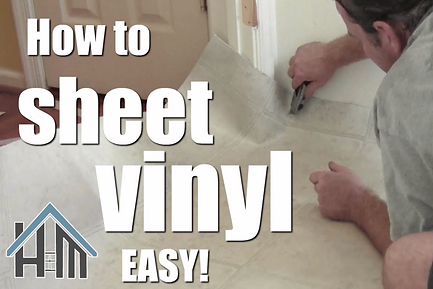
Hello, this is Dustin with Home Mender, and today we are going to be replacing this sheet vinyl floor in a laundry room. We’re going to give this ugly laundry room a slight makeover.. Let’s get to it!
1 Pull the shoe moulding Start by removing the trim at the baseboard, usually shoe moulding or quarter round. Quarter round is the same height and depth. Shoe moulding is slightly taller than it is deep. Remove or hammer in any protruding nails.
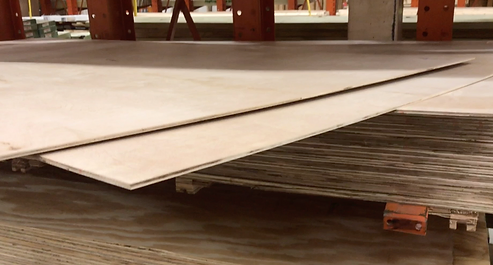
2. Install underlayment if needed We do need to give this vinyl a nice finished surface so our floor will stick to it. We’re going to install a 4×8′ quarter inch luan (loo-on) underlayment. . If you only have one layer of floor, you can go over top of it with one more layer. If you have any more layers than that, you should pull them. When you lay it down, make sure your seams are factory edges and that they are tight. You can secure the luan with ring shank nails about every 8” or so. Ideally, you want the luan to slip under the door jambs so you can use a scrap piece or underlayment and a multi tool to remove the very bottom of the casing and door jambs so your luan will slip in nice.
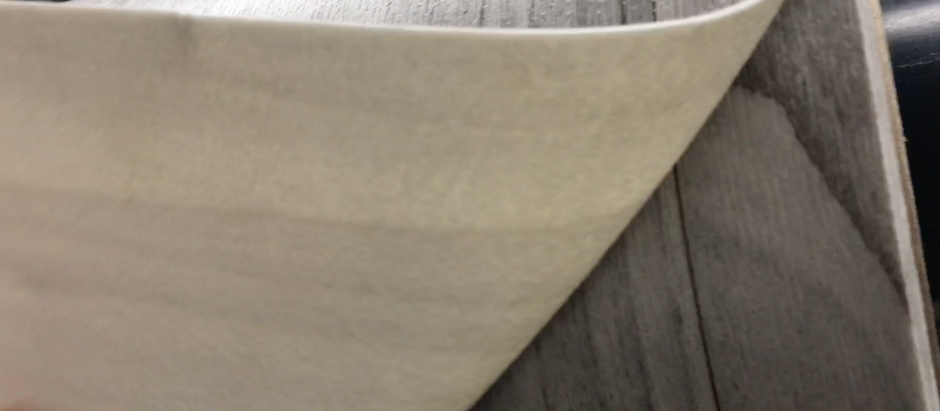
3. Dry fit the sheet vinyl. Cut your sheet vinyl large enough to cover the whole floor and lay it out on the subfloor.The best way to do it is to get a measurement on the room, cut it a few inches bigger and then lay it in there to dry fit. We will make all of our cuts, make sure it’s right and then we’ll glue it. You may even want to take any doors off to do this. Take your straight side, because chances are you cut it crooked, Take your straight side that they cut for you at the store and let’s lay that in a nice and straight to the corner and just kick that into place. Make sure your side is consistent all the way down your baseboard.
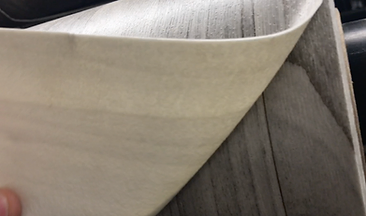
Remember, you only have to get within a half inch because we’ve got shoe moulding going in after this. We’re just going to gently fold this into place now. It’s better to cut it long five times, then cut it short once. Go ahead and take off what you know is not going to cut the floor too short. And that way you can get it closer, closer and closer until you get it right. Walk the floor down around the corners and fold it into place to get an accurate cut. If its tough to fold it, cut you a stress line to free up the vinyl as needed.
4. Glue the floor down With your floor dry fit, roll back half of the floor and With your sheet vinyl trowel, apply sparingly the felt back sheet vinyl adhesive. The idea is to only leave glue left by the little tracks on the trowel. Scrape off any excess. Try holding your trowel at a 45 degree angle. We’re going to glue this half of the floor, lay it down and then pull the other half of the floor up and glue that side. Then we Roll that side back into place.
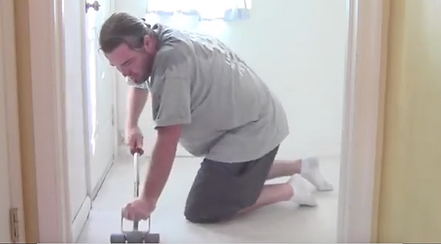
5. Roll out any air bubbles. Start in the middle and use a sheet vinyl roller to remove any glue puddles or air bubbles and push them out to the edges.
So that’s it, super easy, you just rocked that vinyl install and saved you a couple hundred bucks. Feel free to take some silicone white caulk or whatever color matches your trim and seal around the door jambs. Give it that nice finish. All that’s left is your transition and shoe moulding. I’ll leave that to you.
For the Home Mender, this is Dustin. I hope you learned something today. And if you did, don’t forget to subscribe.